
Frontpage elements
Button Login

The “Log in” button is created when the menu item has CSS class gk-login defined in the Appearance -> Menus. This CSS class creates a connection between menu item and the login popup.
Video Block
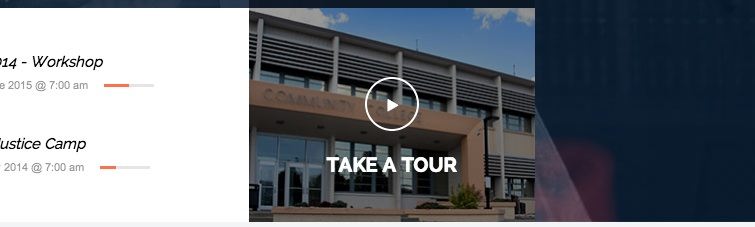
The video block can be created in the text widget with Video css style and the content should look like the below code:
<a class="thickbox gk-video-block" href="//www.youtube.com/embed/Uh70E4hKTog?title=0&TB_iframe=true&width=640&height=480">Take a tour</a>
The above code will create a block which will open a popup with video after clicking it.
Information form

The above form is created by the following code:
<form class="gk-information" action="#">
<div><strong>Get info based on<br /> your study lavel</strong> <input name="full-name" type="text" placeholder="Full name" /> <input name="education-level" type="text" placeholder="Your education level" /> <input name="email" type="email" placeholder="Your e-mail" /> <input type="submit" value="Request information" /></div>
</form>
Content block with image and buttons
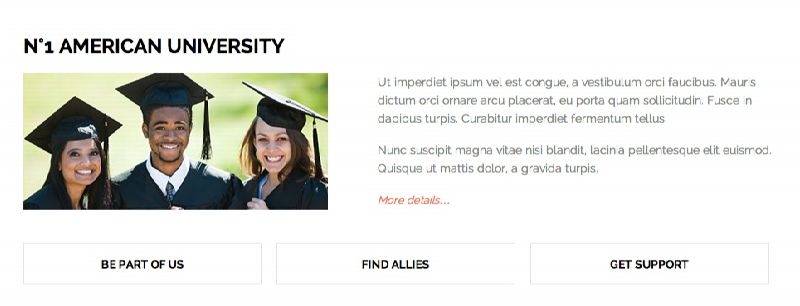
The above content block is created by the following code:
<img class="gk-content-image" src="[pageurl]/wp-content/themes/University/images/demo/students.jpg" alt="University Joomla and WordPress Theme" />
<div class="gk-content">
<p>Ut imperdiet ipsum vel est congue, a vestibulum orci faucibus. Mauris dictum orci ornare arcu placerat, eu porta quam sollicitudin. Fusce in dapibus turpis. Curabitur imperdiet fermentum tellus.</p>
<p>Nunc suscipit magna vitae nisi blandit, lacinia pellentesque elit euismod. Quisque ut mattis dolor, a gravida turpis.</p>
<a href="index.php/about-us">More details…</a></div>
<ul class="gk-content-list" data-cols="3">
<li><a href="#">Be part of us</a></li>
<li><a href="#">Find allies</a></li>
<li><a href="#">Get support</a></li>
</ul>
Menu with icons

In order to create menu with icons you have to select icons-menu widget style in the text widget and use as a content the following code:
<ul>
<li><a href="#"><i class="gk-icon-script"></i>How to apply</a></li>
<li><a href="#"><i class="gk-icon-calendar"></i>Deadlines</a></li>
<li><a href="#"><i class="gk-icon-marker"></i>Plan a visit</a></li>
<li><a href="#"><i class="gk-icon-education"></i>Find a major</a></li>
<li class="last-item"><a href="#">More details…</a></li>
</ul>
More icons are described here. You can also use Font Awesome included icons.
Social icons, newsletter, positioned title

In order to create a bar with widgets you have to add to the page CSS class bottomX-bar where X is a number of the widget area i.e. bottom3-bar.
University Theme has a Wysija plugin integrated. Full documentation of this plugin can be found here. Newsletter widget from the plugin is located on the Bottom3 widget area. Use the following code to create social incons:
<ul class="gk-social-icons">
<li><a class="gk-icon-gplus-outline" href="https://plus.google.com/+gavickpro/posts">Google+</a></li>
<li><a class="gk-icon-twitter-outline" href="https://twitter.com/gavickpro">Twitter</a></li>
<li><a class="gk-icon-fb-outline" href="https://www.facebook.com/gavickpro">Facebook</a></li>
<li><a class="gk-icon-youtube-outline" href="#">YouTube</a></li>
<li><a class="gk-icon-linkedin-outline" href="#">LinkedIn</a></li>
</ul>
Use Bottom Title widget style if you can create bottom positioned title.
- burst_total_pageviews_count:
- 16